|
本文介绍在Ubuntu 18.04.2系统中安装vim、ifconfig、openssh-server、notepadqq的方法,它们都是通过命令的方式安装,所以先配置网络。
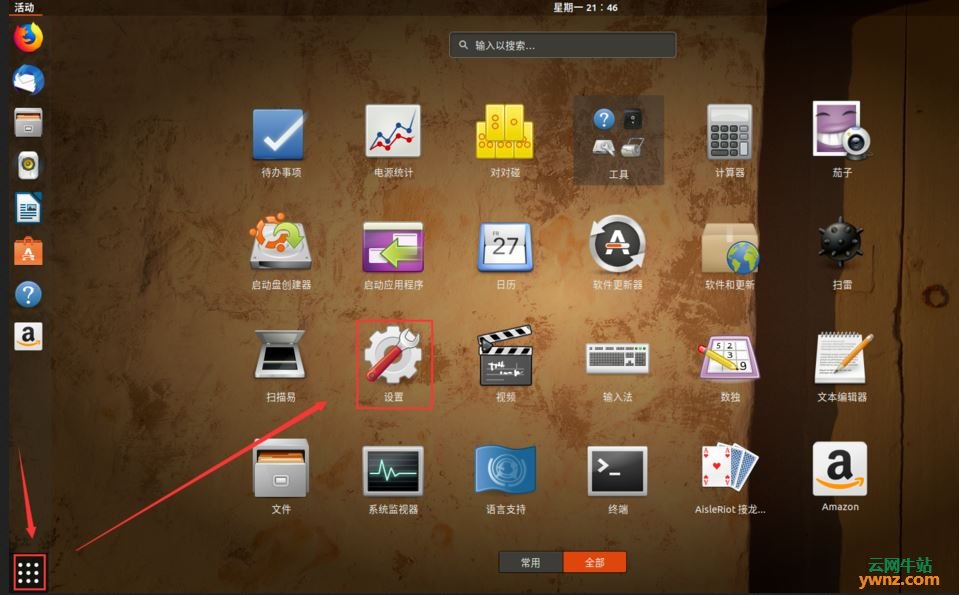
一、在图形界面中配置Ubuntu 18.04.2系统网络 1、打开系统设置选项,如下图所示:
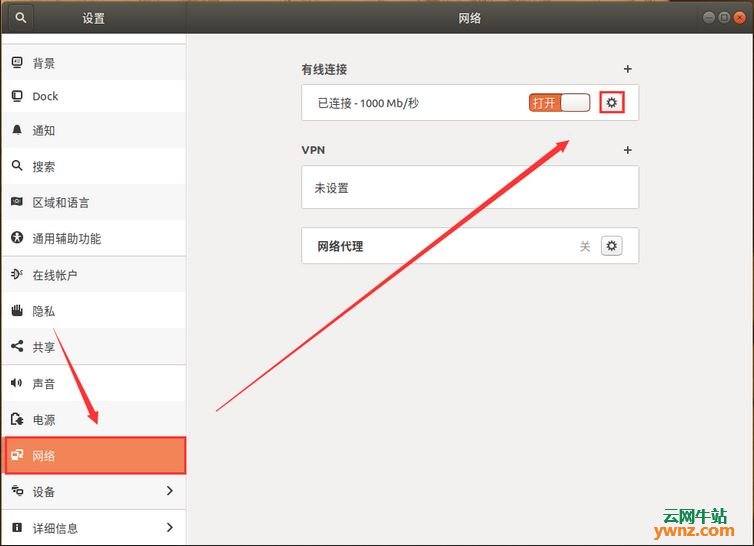
2、然后打开网络设置,本次设置的是有线连接:
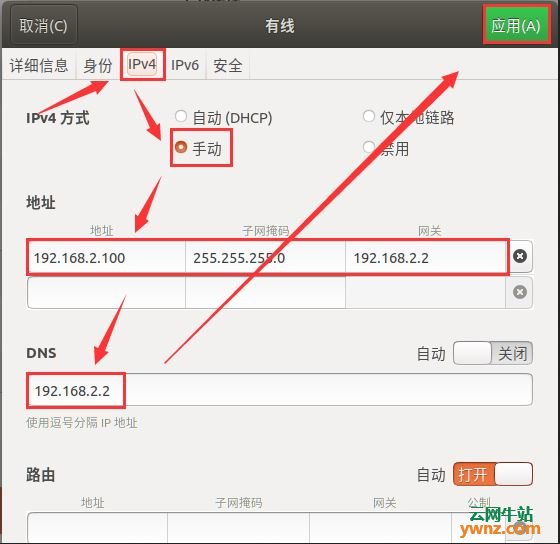
3、修改IPV4的网络:
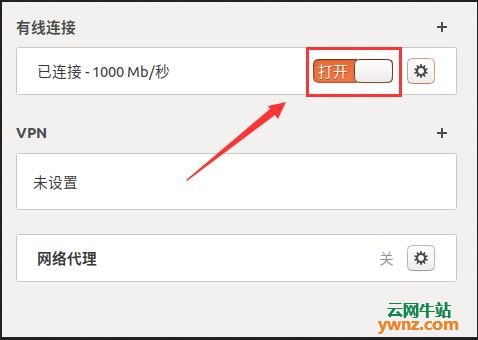
4、网络开关关闭后重新打开 -> 重新加载网络:
至此,配置网络完成。 附:修改网络的命令方式: root@ubuntu100:~# vi /etc/network/interfaces address 192.168.3.90 gateway 192.168.3.1 netmask 255.255.255.0 root@ubuntu100:~# /etc/init.d/networking restart 参考:在Ubuntu 18.04系统中使用Netplan工具配置网络。
二、在Ubuntu 18.04.2中修改国内镜像源及进行系统升级 配置完网络后,请运行以下命令及添加源代码: heihouzi@ubuntu100:~$ su - root passwd ****** root@ubuntu100:~# cd /etc/apt/ root@ubuntu100:/etc/apt# cp sources.list sources.list.bb root@ubuntu100:/etc/apt# vi sources.list deb http://mirrors.aliyun.com/ubuntu/ bionic main restricted universe multiverse deb http://mirrors.aliyun.com/ubuntu/ bionic-security main restricted universe multiverse deb http://mirrors.aliyun.com/ubuntu/ bionic-updates main restricted universe multiverse deb http://mirrors.aliyun.com/ubuntu/ bionic-proposed main restricted universe multiverse deb http://mirrors.aliyun.com/ubuntu/ bionic-backports main restricted universe multiverse deb-src http://mirrors.aliyun.com/ubuntu/ bionic main restricted universe multiverse deb-src http://mirrors.aliyun.com/ubuntu/ bionic-security main restricted universe multiverse deb-src http://mirrors.aliyun.com/ubuntu/ bionic-updates main restricted universe multiverse deb-src http://mirrors.aliyun.com/ubuntu/ bionic-proposed main restricted universe multiverse deb-src http://mirrors.aliyun.com/ubuntu/ bionic-backports main restricted universe multiverse 增加以上源代码后进行软件升级,运行以下命令: root@ubuntu100:~# apt update root@ubuntu100:~# apt upgrade root@ubuntu100:~# apt-get update
三、安装vim 安装vim编辑器请运行以下命令: root@ubuntu100:~# apt install vim
四、安装ifconfig 安装ifconfig插件请运行以下命令: root@ubuntu100:~# apt install net-tools
五、安装openssh-server 注:安装ssh服务才可以进行xshell远程连接,此步骤一定要进行更改国内镜像和升级软件才能成功: //安装ssh服务才可以 xshell远程连接 root@ubuntu100:~# apt-get install openssh-server //检查ssh服务开启状态 root@ubuntu100:~# ps -s | grep ssh root@ubuntu100:~# ps -e | grep ssh //启动ssh服务 root@ubuntu100:~# /etc/init.d/ssh start //停止ssh服务 root@ubuntu100:~# /etc/init.d/ssh stop //重启ssh服务 root@ubuntu100:~# /etc/init.d/ssh restart
六、安装notepadqq 安装notepadqq及卸载的命令如下: //安装 root@ubuntu100:~# add-apt-repository ppa:notepadqq-team/notepadqq root@ubuntu100:~# apt-get install notepadqq //卸载 root@ubuntu100:~# apt-get remove notepadqq root@ubuntu100:~# add-apt-repository --remove ppa:notepadqq-team/notepadqq
相关主题 |