|
本文介绍如何在Debian 10 Buster操作系统上安装GNS3网络模拟器,可先参考在Ubuntu 18.04系统上安装GNS3的方法。
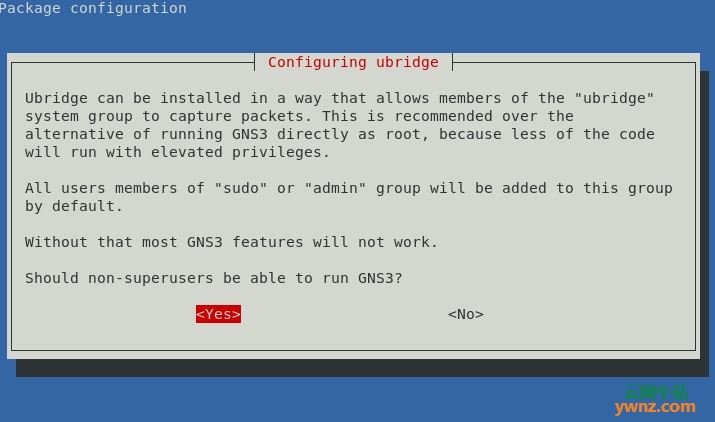
在Debian 10(Buster)上安装GNS3的方法 Ubuntu PPA存储库提供了GNS3的预构建二进制包,通过运行命令将其添加到Debian 10桌面: sudo tee /etc/apt/sources.list.d/gns3.list <<EOF deb http://ppa.launchpad.net/gns3/ppa/ubuntu bionic main deb-src http://ppa.launchpad.net/gns3/ppa/ubuntu bionic main EOF 导入GGP密钥: sudo apt-key adv --keyserver keyserver.ubuntu.com --recv-keys F88F6D313016330404F710FC9A2FD067A2E3EF7B 导入密钥后,在终端上运行以下命令,以在Debian 10(Buster)系统上安装GNS3: sudo apt update sudo apt install gns3-gui 查看共享输出,如下: $ sudo apt update Hit:1 http://ppa.launchpad.net/gns3/ppa/ubuntu bionic InRelease Hit:2 http://deb.debian.org/debian buster InRelease Hit:3 http://security.debian.org/debian-security buster/updates InRelease Get:4 http://ppa.launchpad.net/gns3/ppa/ubuntu bionic/main amd64 Packages [1,740 B] Get:5 http://ppa.launchpad.net/gns3/ppa/ubuntu bionic/main Translation-en [836 B] Fetched 2,576 B in 2s (1,262 B/s) Reading package lists... Done Building dependency tree Reading state information... Done 206 packages can be upgraded. Run 'apt list --upgradable' to see them. $ sudo apt install gns3-gui Reading package lists... Done Building dependency tree Reading state information... Done The following additional packages will be installed: augeas-lenses cpulimit dmeventd dynamips gns3-server ibverbs-providers ipxe-qemu libaio1 libaugeas0 libcapstone3 libdevmapper-event1.02.1 libfdt1 libibverbs1 liblvm2cmd2.03 libnetcf1 libqt5designer5 libqt5help5 libqt5sql5 libqt5sql5-sqlite libqt5test5 libqt5websockets5 libqt5xml5 librdmacm1 libreadline5 libspice-server1 libvdeplug2 libvirglrenderer0 libvirt-clients libvirt-daemon libvirt-daemon-system libvirt0 libvncclient1 libvncserver1 libxencall1 libxendevicemodel1 libxenevtchn1 libxenforeignmemory1 libxengnttab1 libxenmisc4.11 libxenstore3.0 libxentoolcore1 libxentoollog1 libxml2-utils lvm2 netcat-openbsd ovmf python3-pyqt5 python3-pyqt5.qtsvg python3-pyqt5.qtwebsockets python3-sip qemu-kvm qemu-system-common qemu-system-data qemu-system-gui qemu-system-x86 qemu-utils seabios thin-provisioning-tools ubridge vpcs x11vnc x11vnc-data xvfb Suggested packages: augeas-doc gns3 augeas-tools libvirt-daemon-driver-storage-gluster libvirt-daemon-driver-storage-rbd libvirt-daemon-driver-storage-zfs numad auditd nfs-common open-iscsi pm-utils radvd systemtap zfsutils python3-pyqt5-dbg samba vde2 qemu-block-extra sgabios debootstrap The following NEW packages will be installed: augeas-lenses cpulimit dmeventd dynamips gns3-gui gns3-server ibverbs-providers ipxe-qemu libaio1 libaugeas0 libcapstone3 libdevmapper-event1.02.1 libfdt1 libibverbs1 liblvm2cmd2.03 libnetcf1 libqt5designer5 libqt5help5 libqt5sql5 libqt5sql5-sqlite libqt5test5 libqt5websockets5 libqt5xml5 librdmacm1 libreadline5 libspice-server1 libvdeplug2 libvirglrenderer0 libvirt-clients libvirt-daemon libvirt-daemon-system libvirt0 libvncclient1 libvncserver1 libxencall1 libxendevicemodel1 libxenevtchn1 libxenforeignmemory1 libxengnttab1 libxenmisc4.11 libxenstore3.0 libxentoolcore1 libxentoollog1 libxml2-utils lvm2 netcat-openbsd ovmf python3-pyqt5 python3-pyqt5.qtsvg python3-pyqt5.qtwebsockets python3-sip qemu-kvm qemu-system-common qemu-system-data qemu-system-gui qemu-system-x86 qemu-utils seabios thin-provisioning-tools ubridge vpcs x11vnc x11vnc-data xvfb 0 upgraded, 64 newly installed, 0 to remove and 206 not upgraded. Need to get 51.9 MB of archives. After this operation, 179 MB of additional disk space will be used. Do you want to continue? [Y/n] y 选择是否允许非特权用户运行GNS3:
可以启用Docker支持(非必选项目) 如果你需要使用Docker运行时引擎,可先安装Docker和Docker Compose,参考在Debian 10 Buster上安装Docker和Docker Compose的方法。 如果遇到任何权限错误,请确保你的用户属于以下组: for i in ubridge docker wireshark; do sudo usermod -aG $i $USER done
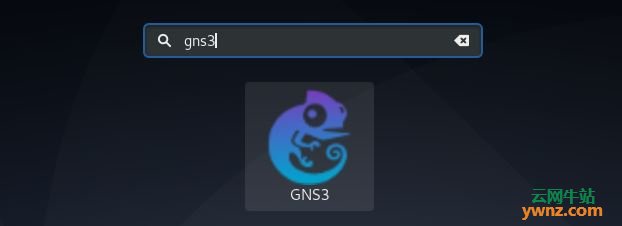
启动GNS3的方法 安装成功后,可以桌面上直接启动GNS3,搜索GNS3以启动初始配置即可:
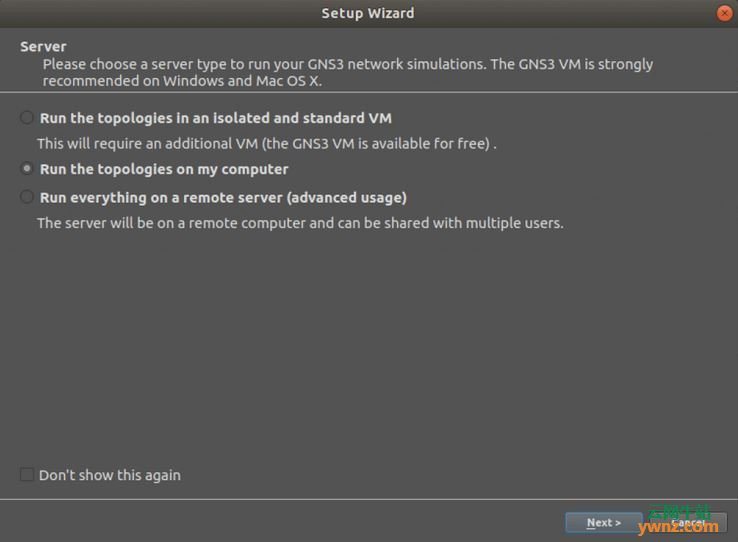
在出来的页面上,选择Run the topologies on my computer,如下图:
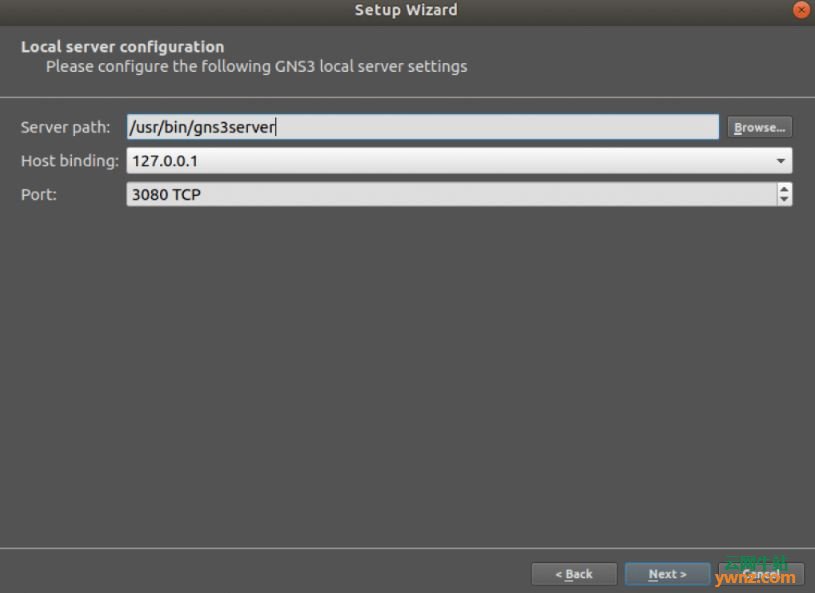
配置相关的位置,如下图:
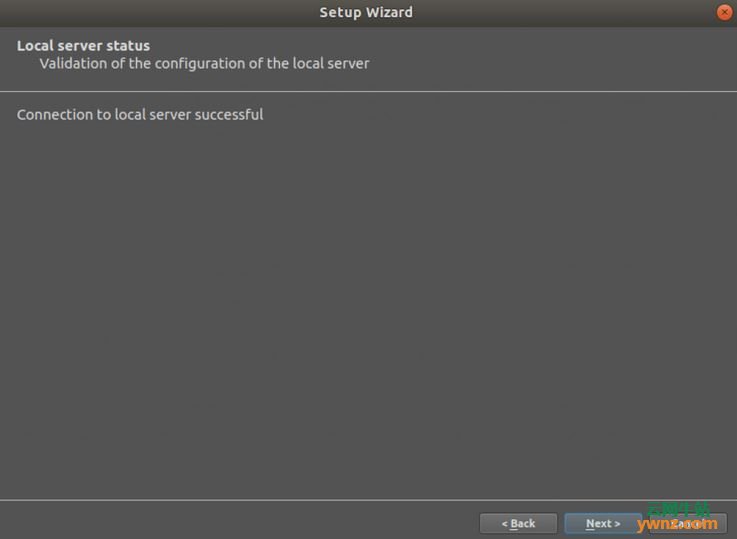
安装成功,会出现如下图:
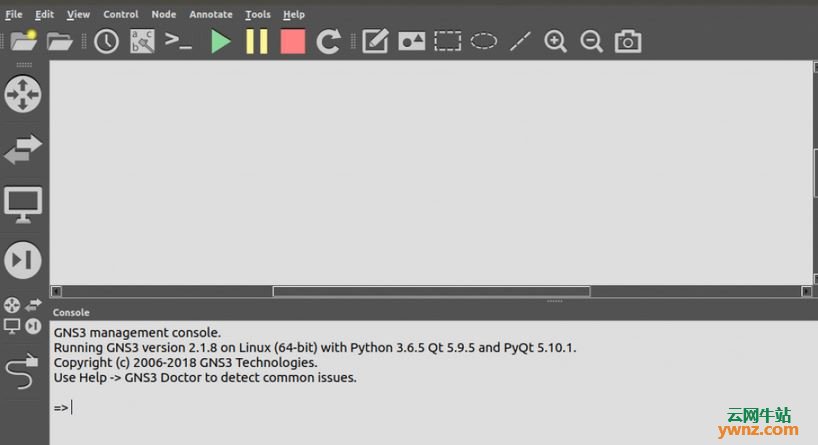
配置完成后就可以正式使用GNS3了:
相关主题 |