|
本文介绍如何在Ubuntu 18.04服务器上安装和配置FreeIPA服务器。
安装FreeIPA最低要求 1、对于我的案例,主机名是完全合格的。 2、主机名必须是可解析的,如果不是DNS服务器,则可以在hosts文件中定义主机名。 3、至少2-4GB的RAM,10GB的磁盘空间,2个vCPU。
准备FreeIPA服务器 在我们继续在Ubuntu 18.04上安装和配置我们的FreeIPA服务器之前,让我们做一些内部准备工作。 检查你的主机名以确保它是FQDN格式: $ hostname -f ipa 这看起来不太好,让我们完全使用合格的: sudo hostnamectl set-hostname ipa.example.com 确认: # hostname ipa.example.com 在hosts文件中定义FQDN以使其可解析: echo "192.168.58.121 ipa.example.com ipa" | sudo tee -a /etc/hosts 更新包存储库: sudo apt update -y FreeIPA服务器在运行时执行大量加密操作,因此你的VM必须具有足够可以确保FreeIPA加密操作不会停止的性能,可以安装和配置rng-tools: sudo apt install rng-tools 安装完成后,编辑文件/etc/default/rng-tools,并通过添加行HRNGDEVICE=/dev/urandom将随机数据的输入源设置为/dev/urandom,如下所示: $ sudo vim /etc/default/rng-tools ….. # This is a POSIX shell fragment # Set to the input source for random data, leave undefined # for the initscript to attempt auto-detection. Set to /dev/null # for the viapadlock and tpm drivers. #HRNGDEVICE=/dev/hwrng #HRNGDEVICE=/dev/null HRNGDEVICE=/dev/urandom ….. 启用并启动rng-tools: sudo systemctl enable rng-tools sudo systemctl start rng-tools 现在我们的服务器已经满足基本条件了,请继续下面的操作。
安装FreeIPA Server软件包 运行以下命令安装FreeIPA包: sudo apt -y install freeipa-server 在安装过程中,系统将提示你输入Kerberos、Kerberos服务器的主机名以及Kerberos的管理服务器的主机名: 分别输入EXAMPLE.COM、ipa.example.com、ipa.example.com 你还将遇到与Kerberos和tomcat相关的错误,不过可以放心地忽略它们。 安装完成后,运行FreeIPA安装命令,它会提示你提供许多配置选项并安装FreeIPA: sudo ipa-server-install 第一个提示将是关于FreeIPA的集成DNS,因为我们在此设置中不需要此服务,所以我们无法配置它。 To accept the default options shown in square brackets, just press Enter key.… Do you want to configure integrated DNS (BIND)? [no]: Enter Enter the fully qualified domain name of the computer on which you're setting up server software. Using the form <hostname>.<domainname> Example: master.example.com. Server host name [ipa.computingforgeeks.com]: Enter The domain name has been determined based on the host name. Please confirm the domain name [computingforgeeks.com]: Enter The kerberos protocol requires a Realm name to be defined. This is typically the domain name converted to uppercase. Please provide a realm name [COMPUTINGFORGEEKS.COM]: Enter Certain directory server operations require an administrative user. This user is referred to as the Directory Manager and has full access to the Directory for system management tasks and will be added to the instance of directory server created for IPA. The password must be at least 8 characters long Directory Manager password: <secure password> Password (confirm): <secure password> The IPA server requires an administrative user, named 'admin'. This user is a regular system account used for IPA server administration. IPA admin password: <secure password> Password (confirm): <secure password> The IPA Master Server will be configured with: Hostname: ipa.example.com IP address(es): 192.168.58.121 Domain name: computingforgeeks.com Realm name: COMPUTINGFORGEEKS.COM The CA will be configured with: Subject DN: CN=Certificate Authority,O=EXAMPLE.COM Subject base: O=EXAMPLE.COM Chaining: self-signed Continue to configure the system with these values? [no]: yes ...output cut… Client configuration complete. The ipa-client-install command was successful Setup complete Next steps: 1.You must make sure these network ports are open: TCP Ports: * 80, 443: HTTP/HTTPS * 389, 636: LDAP/LDAPS * 88, 464: kerberos UDP Ports: * 88, 464: kerberos * 123: ntp 2 You can now obtain a kerberos ticket using the command: 'kinit admin' This ticket will allow you to use the IPA tools (e.g., ipa user-add) and the web user interface. 现在FreeIPA服务器设置已完成,通过防火墙打开各种FreeIPA服务器服务所需的端口。 如果未运行,则可以启用它并允许所有传入连接到上面所列的端口中。
ufw相关操作 启用ufw: sudo ufw enable 允许tcp端口: for i in 80 443 389 636 88 464; do sudo ufw allow proto tcp from any to any port $i; done 允许udp端口: for i in 88 464 123; do sudo ufw allow proto udp from any to any port $i; done 重新加载ufw以保存更改: sudo ufw reload
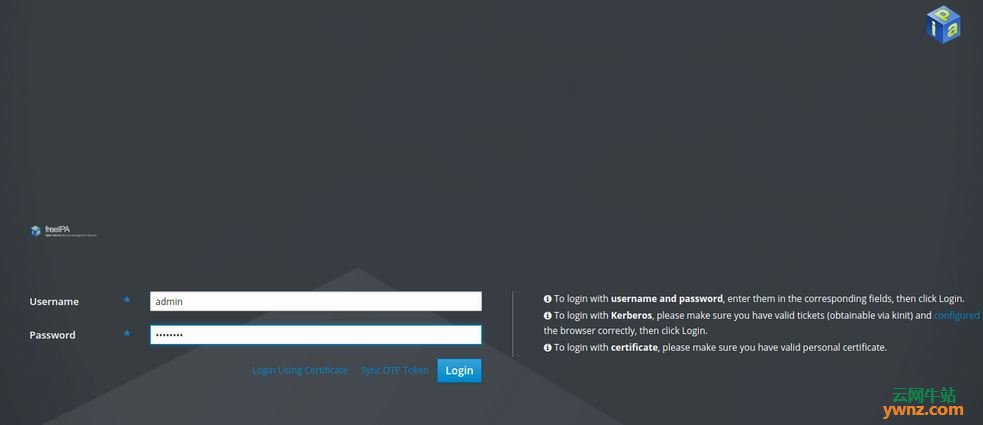
登陆FreeIPA 现在端口已通过防火墙打开,让我们通过为管理员用户初始化Kerberos令牌来验证我们的FreeIPA服务器。 对于正常的管理活动,已创建管理帐户管理员,提示输入密码时,请使用你在配置步骤中为admin用户指定的密码: # kinit admin Password for admin@COMPUTINGFORGEEKS.COM: 检查Kerberos: root@ipa:~# klist Ticket cache: KEYRING:persistent:0:0 Default principal: admin@COMPUTINGFORGEEKS.COM 如果成功,请尝试查找FreeIPA服务器上是否存在用户admin: # ipa user-find admin -------------- 1 user matched -------------- User login: admin Last name: Administrator Home directory: /home/admin Login shell: /bin/bash Principal alias: admin@COMPUTINGFORGEEKS.COM UID: 1506000000 GID: 1506000000 Account disabled: False ---------------------------- Number of entries returned 1 ---------------------------- 你现在可以从Web仪表板以及命令行执行任何IPA任务了,要登录Web仪表板,请使用地址:https://ipa.example.com,Web登录用户名为admin,密码是admin用户配置步骤中提供的密码:
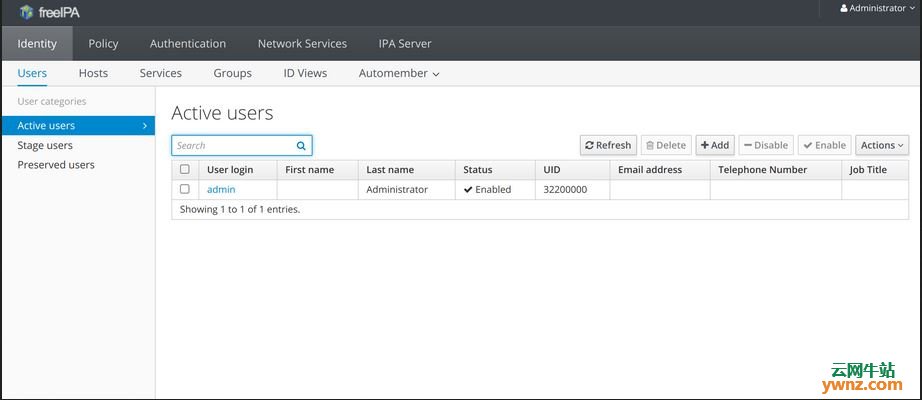
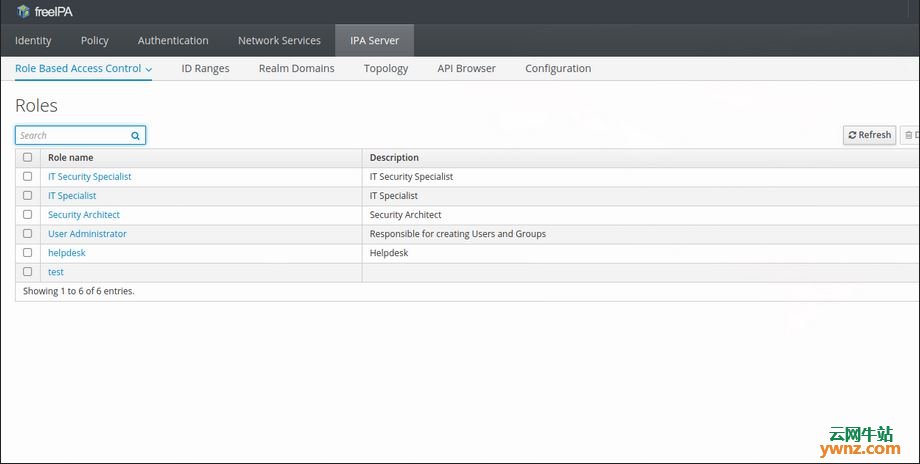
然后你应该进入FreeIPA管理界面了,如下图:
最后,如果可以的话,我们也可以将用户帐户管理和集中身份验证从原始OpenLDAP迁移过来,到在Ubuntu 18.04上运行FreeIPA服务器中。
相关主题 |