|
本文介绍在Ubuntu 18.04系统上安装Jekyll的方法,及创建一个示例网站。
简介 Jekyll是最受欢迎的静态站点生成器之一,具有内容管理系统(CMS)中所需的所有功能,与其它数据库驱动的CMS系统不同,它主要关注性能和安全性,使用Jekyll,你可以在几秒钟内将纯文本文件转换为静态网站和博客。
Jekyll特色如下: Jekyll很简单:你不需要了解数据库管理,评论审核或讨厌的更新安装。 适合静态内容:你可以使用Markdown,Liquid,HTML和CSS,静态站点可以在你选择的Web服务器上进行部署。 Jekyll具有博客感知功能:它可以很好地处理永久链接,类别,页面,帖子和自定义布局。
一、在Ubuntu 18.04上安装Jekyll 我们将首先将所有系统软件包更新到最新版本,然后继续安装Jekyll: $ sudo apt-get update $ sudo apt-get upgrade Jekyll需要一个包含库的Ruby开发环境,使用以下命令安装Jekyll和必需的构建工具: $ sudo apt-get install make build-essential 安装Ruby包和开发工具: $ sudo apt-get install ruby ruby-dev 参考:在Ubuntu 18.04 LTS系统上安装Ruby的方法。 我们现在需要指示Ruby的gem包管理器将gem放在登录用户的主目录中,在~/.bashrc或~/.zshrc下添加以下行,具体取决于你的shell: export GEM_HOME=$HOME/gems export PATH=$HOME/gems/bin:$PATH 现在来源.bashrc|.zshrc文件以使更改生效: $ source ~/.bashrc $ source ~/.zshrc 完成此操作后,将使用gem安装Jekyll和Bundler,这是一个用于管理Gem依赖项的工具: $ gem install bundler Fetching: bundler-1.16.2.gem (100%) Successfully installed bundler-1.16.2 Parsing documentation for bundler-1.16.2 Installing ri documentation for bundler-1.16.2 Done installing documentation for bundler after 3 seconds 1 gem installed 安装Jekyll: $ gem install jekyll
二、使用Jekyll创建一个新网站 现在已经设置了所有必需的东西,让我们继续为Jekyll添加一个站点,为此,我们将使用命令jekyll new site,这将使用默认的Jekyll主题启动所需依赖项的bundle安装,安装成功后,你应该看到如下输出(请把xxx.com换成你的域名,比如ywnz.com): $ jekyll new blog.xxx.com Running bundle install in /home/jmutai/blog.xxx.com... Bundler: Don't run Bundler as root. Bundler can ask for sudo if it is needed, and installing your bundle as root will break this application for all non-root users on this Bundler: machine. Bundler: The dependency tzinfo-data (>= 0) will be unused by any of the platforms Bundler is installing for. Bundler is installing for ruby but the dependency is only for x86-mingw32, x86-mswin32, x64-mingw32, java. To add those platforms to the bundle, run `bundle lock --add-platform x86-mingw32 x86-mswin32 x64-mingw32 java`. Bundler: Fetching gem metadata from https://rubygems.org/........... Bundler: Fetching gem metadata from https://rubygems.org/. Bundler: Resolving dependencies... Bundler: Using public_suffix 3.0.2 Bundler: Using addressable 2.5.2 Bundler: Using bundler 1.16.2 Bundler: Using colorator 1.1.0 Bundler: Using concurrent-ruby 1.0.5 Bundler: Using eventmachine 1.2.7 Bundler: Using http_parser.rb 0.6.0 Bundler: Using em-websocket 0.5.1 Bundler: Using ffi 1.9.25 Bundler: Using forwardable-extended 2.6.0 Bundler: Using i18n 0.9.5 Bundler: Using rb-fsevent 0.10.3 Bundler: Using rb-inotify 0.9.10 Bundler: Using sass-listen 4.0.0 Bundler: Using sass 3.5.6 Bundler: Using jekyll-sass-converter 1.5.2 Bundler: Using ruby_dep 1.5.0 Bundler: Using listen 3.1.5 Bundler: Using jekyll-watch 2.0.0 Bundler: Using kramdown 1.17.0 Bundler: Using liquid 4.0.0 Bundler: Using mercenary 0.3.6 Bundler: Using pathutil 0.16.1 Bundler: Using rouge 3.1.1 Bundler: Using safe_yaml 1.0.4 Bundler: Using jekyll 3.8.3 Bundler: Fetching jekyll-feed 0.10.0 Bundler: Installing jekyll-feed 0.10.0 Bundler: Fetching jekyll-seo-tag 2.5.0 Bundler: Installing jekyll-seo-tag 2.5.0 Bundler: Fetching minima 2.5.0 Bundler: Installing minima 2.5.0 Bundler: Bundle complete! 4 Gemfile dependencies, 29 gems now installed. Bundler: Use `bundle info [gemname]` to see where a bundled gem is installed. New jekyll site installed in /home/jmutai/blog.xxx.com. 将使用用于创建静态站点的Jekyll源文件创建目录: $ tree blog.xxx.com/ blog.xxx.com/ ├── 404.html ├── Gemfile ├── Gemfile.lock ├── _config.yml ├── _posts │ └── 2019-02-22-welcome-to-jekyll.markdown ├── about.md └── index.md 1 directory, 7 files 请注意,你必须先cd到此目录才能开始使用它: $ cd blog.xxx.com/ Jekyll的内置轻量级Web服务器将在端口4000上提供内容,如果启用了防火墙服务,则允许访问此端口: $ sudo ufw allow 4000 Jekyll旨在通过自动检测文件的更改来支持实时开发,并在保存更改时自动重新生成静态站点。
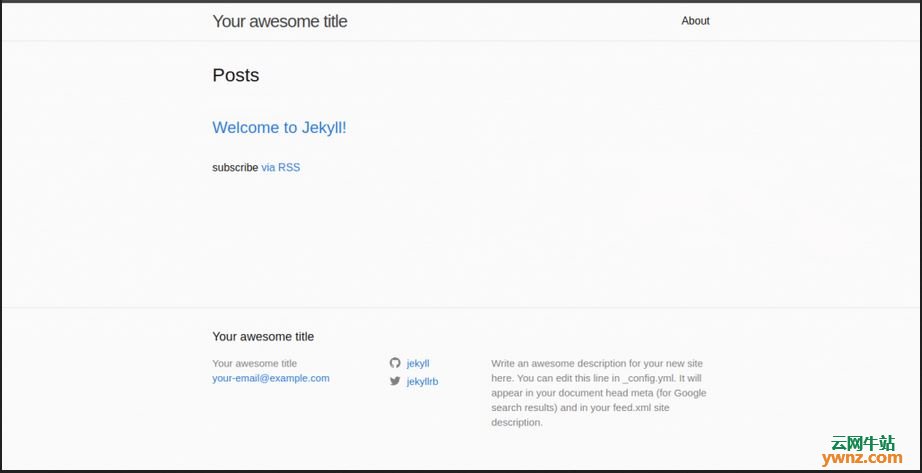
三、启动Jekyll Web Server 要启动Jekyll内置Web服务,请选择到站点目录并使用jekyll serve命令启动Jekyll Web服务器,然后使用要绑定的主机IP地址: $ cd ~/blog.xxx.com $ jekyll serve --host=178.128.164.211 执行jekyll serve命令时,Jekyll将解析配置并将内容文件推送到名为_site的目录中,然后它提供此_site目录中的内容: $ ls -1 _site/ 404.html about assets feed.xml index.html jekyll 应该得到如下输出: Configuration file: /home/jmutai/blog.xxx.com/_config.yml Source: /home/jmutai/blog.xxx.com Destination:/home/jmutai/blog.xxx.com/_site Incremental build: disabled. Enable with --incremental Generating... done in 0.372 seconds. Auto-regeneration: enabled for '/home/jmutai/blog.xxx.com' Server address: http://178.128.164.211:4000/ Server running... press ctrl-c to stop. 当保存对帖子或页面的更改时,Jekyll还会在~/blog.xxx.com目录中监视新的更改,它将自动重建静态站点,将所有站点帖子放在_posts目录下。 访问服务器的IP地址和端口4000以查看默认网页:
如果你使用的是Nginx或Apache等Web服务器,则需要将_site/中的内容复制到其Web文档根目录。
相关主题 |