|
本文介绍在CentOS 8/RHEL 8服务器上安装和配置Sensu Go监控工具的方法。
一、在CentOS 8/RHEL 8上安装Sensu后端 添加后端存储库: curl -s https://packagecloud.io/install/repositories/sensu/stable/script.rpm.sh | sudo bash 如果存储库配置成功,则输出将如下所示: Complete! Generating yum cache for sensu_stable... Importing GPG key 0x0A3F7426: Userid : "https://packagecloud.io/sensu/stable (https://packagecloud.io/docs#gpg_signing) <support@packagecloud.io>" Fingerprint: CB16 05C4 E988 C91F 4382 49E3 A5BC 3FB7 0A3F 7426 From : https://packagecloud.io/sensu/stable/gpgkey Generating yum cache for sensu_stable-source... The repository is setup! You can now install packages. .. 添加存储库后,在CentOS 8/RHEL 8上安装Sensu后端: sudo yum install sensu-go-backend 在输出信息中,要按y接受安装才能继续进行安装。
二、在CentOS 8/RHEL 8上配置Sensu后端 从文档中复制配置模板: sudo curl -L https://docs.sensu.io/sensu-go/latest/files/backend.yml -o /etc/sensu/backend.yml 根据自己的喜好进行编辑: sudo vi /etc/sensu/backend.yml 以下是我的配置: --- # Sensu backend configuration # backend configuration state-dir: "/var/lib/sensu/sensu-backend" cache-dir: "/var/cache/sensu/sensu-backend" config-file: "/etc/sensu/backend.yml" debug: false log-level: "debug" # available log levels: panic, fatal, error, warn, info, debug ## # agent configuration ## agent-port: 8081 ## # api configuration ## api-listen-address: "[::]:8080" # listen on all IPv4 and IPv6 addresses #api-url: "http://localhost:8080" ## # dashboard configuration ## #dashboard-cert-file: "/path/to/ssl/cert.pem" #dashboard-key-file: "/path/to/ssl/key.pem" dashboard-host: "[::]" # listen on all IPv4 and IPv6 addresses dashboard-port: 3000 ## # ssl configuration ## #cert-file: "/path/to/ssl/cert.pem" #key-file: "/path/to/ssl/key.pem" #trusted-ca-file: "/path/to/trusted-certificate-authorities.pem" #insecure-skip-tls-verify: false ## # store configuration ## #etcd-advertise-client-urls: "http://localhost:2379" #etcd-cert-file: "/path/to/ssl/cert.pem" #etcd-client-cert-auth: false #etcd-initial-advertise-peer-urls: "http://127.0.0.1:2380" #etcd-initial-cluster: "default=http://127.0.0.1:2380" #etcd-initial-cluster-state: "new" # new or existing #etcd-initial-cluster-token: "sensu" #etcd-key-file: "/path/to/ssl/key.pem" #etcd-listen-client-urls: "http://127.0.0.1:2379" #etcd-listen-peer-urls: "http://127.0.0.1:2380" #etcd-name: "default" #etcd-peer-cert-file: "/path/to/ssl/cert.pem" #etcd-peer-client-cert-auth: false #etcd-peer-key-file: "/path/to/ssl/key.pem" #etcd-peer-trusted-ca-file: "/path/to/ssl/key.pem" #etcd-trusted-ca-file: "/path/to/ssl/key.pem" #no-embed-etcd: false #etcd-cipher-suits # - TLS_EXAMPLE 启动Sensu后端服务: sudo systemctl enable --now sensu-backend 检查服务状态: systemctl status sensu-backend 会返回活动状态的提示,表明已成功启动。
三、初始化Sensu后端 现在,您需要设置您的Sensu管理员用户名和密码,运行以下命令以初始化Sensu后端: export SENSU_BACKEND_CLUSTER_ADMIN_USERNAME=admin export SENSU_BACKEND_CLUSTER_ADMIN_PASSWORD=StrongAdminP@ssw0rd sensu-backend init 命令执行输出: {"component":"backend.seeds","level":"info","msg":"seeding etcd store with intial data","time":"2020-05-23T21:50:07+02:00"} 如果您希望响应输入用户名和密码的提示,则还可以以交互方式运行sensu-backend init命令: sensu-backend init --interactive
四、配置Sensu以访问Sensu控制中心 Sensu Web UI提供了监视事件的统一视图以及用户友好的工具,以下进行简单的配置Sensu就可以了。 确认UI服务端口已打开: $ sudo ss -tunelp | grep 3000 tcp LISTEN 0 128 *:3000 *:* users:(("sensu-backend",pid=2194,fd=18)) uid:994 ino:27800 sk:a v6only:0 <-> 通过查询API运行状况检查后端是否已启动并正在运行: $ curl http://127.0.0.1:8080/health
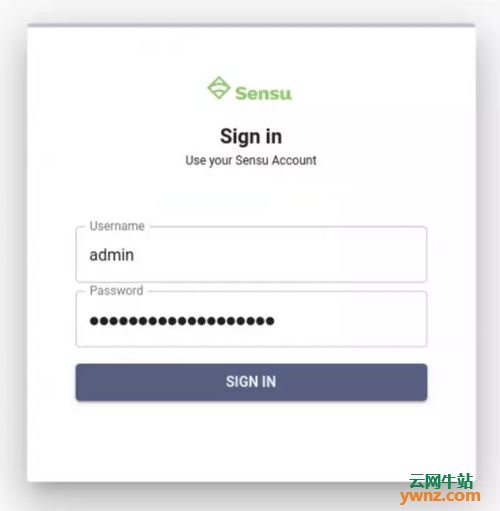
如果您有活动的防火墙服务,请允许3000端口: sudo firewall-cmd --add-port=3000/tcp --permanent sudo firewall-cmd --reload 参考:在CentOS 8系统上配置和管理防火墙(Firewall)的方法。 打开浏览器,然后访问http://localhost:3000或http://server_ip_or_hostname:3000上的Sensu控制中心:
使用上面设置的帐户进行登录:
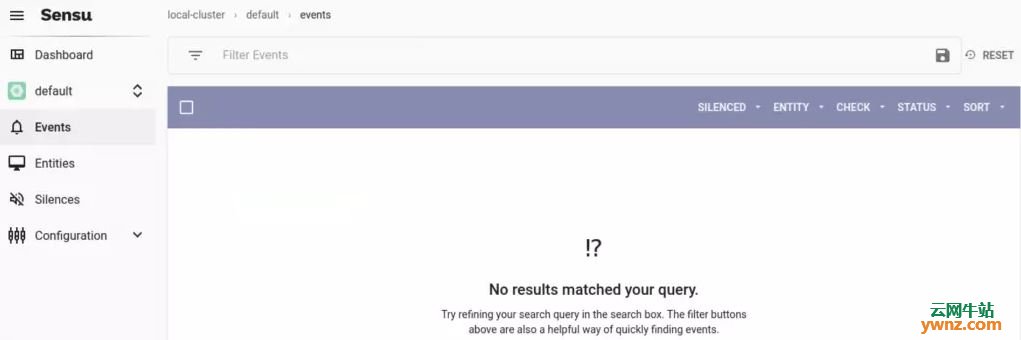
到这里就可以看到Sensu控制中心面板了,这意味着整个安装和配置Sensu已成功。
相关主题 |