|
本文介绍在Debian 10(Buster) Linux操作系统上安装InfluxDB及配置InfluxDB http身份验证,使用配置文件(influxdb.conf)和环境变量可以轻松配置InfluxDB。
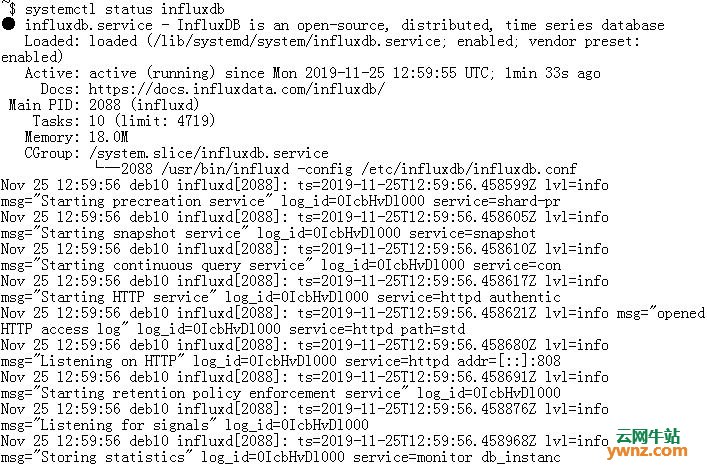
在Debian 10(Buster) Linux上安装InfluxDB 添加InfluxDB APT存储库: sudo apt update sudo apt install -y gnupg2 curl wget wget -qO- https://repos.influxdata.com/influxdb.key | sudo apt-key add - echo "deb https://repos.influxdata.com/debian buster stable" | sudo tee /etc/apt/sources.list.d/influxdb.list 参考:教你在Ubuntu/Debian系统中添加Apt存储库的两种方法。 添加存储库后,在Debian 10(Buster) Linux上安装InfluxDB: sudo apt update sudo apt install -y influxdb InfluxDB默认配置文件位于/etc/influxdb/influxdb.conf下,大多数部分已被注释掉,你可以根据自己的喜好对其进行修改,然后再重新启动influxdb服务。 启动并启用服务以在启动时启动: sudo systemctl enable --now influxdb 检查服务状态: ~$ systemctl status influxdb
在防火墙上打开influxdb服务端口 对于使用ufw防火墙的用户,请允许服务端口: sudo apt -y install ufw sudo ufw enable sudo ufw allow 22/tcp sudo ufw allow 8086/tcp 默认情况下,InfluxDB使用以下网络端口: 1、TCP端口8086用于通过InfluxDB的HTTP API进行客户端/服务器通信。 2、TCP端口8088用于RPC服务以进行备份和还原。 参考:Debian、Ubuntu、Linux Mint系统中的UFW防火墙入门教程。
配置InfluxDB http身份验证 如果需要http认证,请修改influxdb http部分以包含以下内容: $ sudo vim /etc/influxdb/influxdb.conf [http] auth-enabled = true 然后使用认证密码创建一个用户: curl -XPOST "http://localhost:8086/query" --data-urlencode "q=CREATE USER username WITH PASSWORD 'strongpassword' WITH ALL PRIVILEGES" 更换: 1、用户名和你自己的用户名。 2、使用你自己的密码:strongpassword(请注意,密码需要单引号)。 现在,每当需要在终端上运行任何influxdb命令时,都需要使用-username指定用户名,并使用-password选项指定密码: influx -username 'username' -password 'password' 对于curl,请使用-u指定用冒号分隔的用户名和密码。 curl -G http://localhost:8086/query -u username:password --data-urlencode "q=SHOW DATABASES" 至此,配置InfluxDB http身份验证已完成。
相关主题 |